|
For years we have been working on the best way to do out 72 kits. Here are a couple of our tips/tricks:
0 Comments
They will be posted in separate posts as I have time in the next couple of months! My daughter said her parties were considered EPIC by her friends and we did it all on a budget and with a not so crafty mom :)
Easiest party ever!
We took all of the money that we would have spent on a party and gave it to Ashly. This included invitations. She decided how many friends she wanted to split the money up between and we took them to the mall. They got to buy whatever they wanted, including treats. We spent two hours. It was really fun to see how they combined their money to get the most out of the deals going on at the mall. Super easy all around. Eric and I just split up and I was on one end of the mall and he was on the other end so that they could find us if they needed us. (Our mall isn't very big so this was sufficient for us.) Duration - 1 hour Invites - a scroll with burnt edges and fancy font Decorations: Large squares of white and 2 shades of pink tulle that I simply puffed up. I also had a treat in some of them and they were tied up with ribbon which they got to take one home when they left. Photography Backdrop - see image below Activities:
Refreshments:
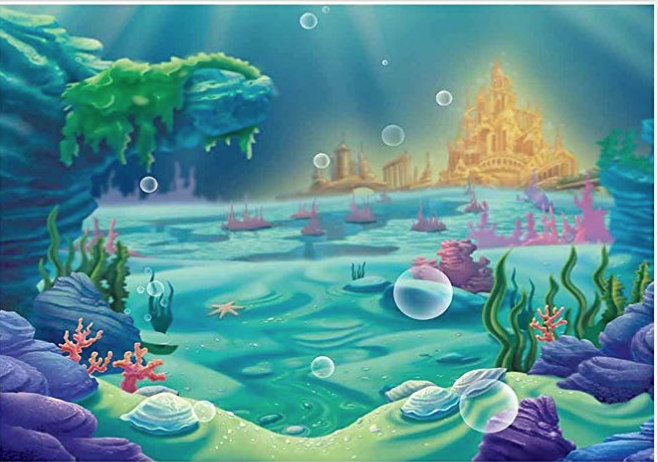
Rag Skirt Take a piece of ribbon or yarn and tie rag strips onto it. Feather Duster A stick and some feathers tied to it. Party Skirts Shiny fabric - used pillowcases and such cut into a large rectangle with a simple hem stitch at the top with the ends open to thread elastic through. When pulled through it bunched up the top of the fabric. I could have made the skirts a bit more circular by cutting it into a better shape, but this worked. They kind of looked like bells. I LOVE LOVE using photo backdrops or shower curtains as a focal point. It is a huge, but super easy statement as a stand alone, or with props in front of it. I don't use a photography stand, just some PVC pipe and clamps. Alas, this is a fairly new discover. You can see a picture at the bottom of the one I would have used. 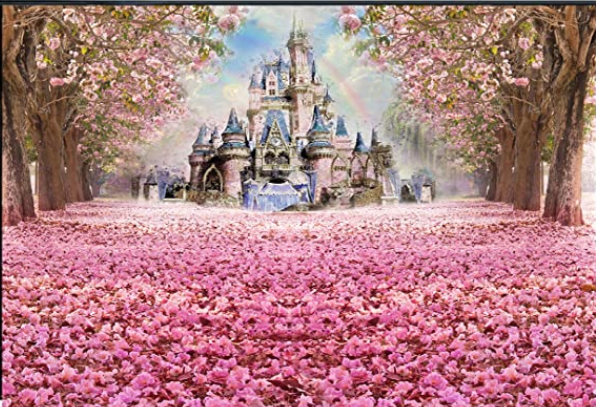 Duration - 1 hour Invitations - A simple seashell glued to blue cardstock. The information was on the cardstock. Decorations: Two shades of blue streamers and balloons hung low across the ceiling so it gave us the feeling we were underwater. I LOVE LOVE using photo backdrops or shower curtains as a focal point. It is a huge, but super easy statement as a stand alone, or with props in front of it. I don't use a photography stand, just some PVC pipe and clamps. Alas, this is a fairly new discover. You can see a picture at the bottom of the one I would have used. Link Food:
Activities:
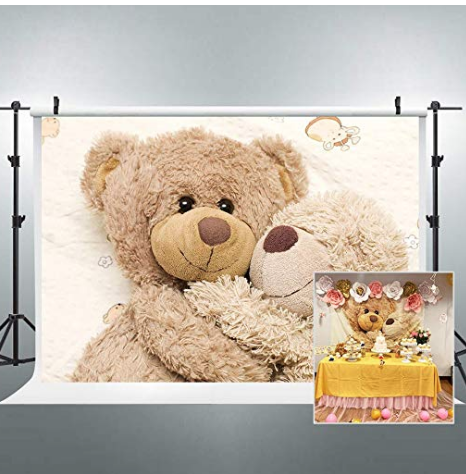
 Duration Of Party - 1 hour - I learned from a games class that I took in college that you end a party while it's still fun, DON'T plan it for a long length of time. The first birthday party we planned was for Ashly. It was a Teddy Bear Picnic. Invitations: A paper teddy bear - nothing fancy just a simple bear shape on brown construction paper. Everyone was invited to bring their own teddy bear. Decorations: A tent - we simply set up our tent in our front yard. We did the games outside on and around a picnic blanket with a picnic basket. I LOVE LOVE using photo backdrops or shower curtains as a focal point. It is a huge, but super easy statement as a stand alone, or with props in front of it. I don't use a photography stand, just some PVC pipe and clamps. Alas, this is a fairly new discover. You can see a picture at the bottom of the one I would have used. The link to this Food:
Games:
 We live in the desert so everyone owns at least one water bottle, but really it's more like everyone owns 3. So that is 15 water bottles. The problem has always been what to do with them! Here is picture of my super easy solution. 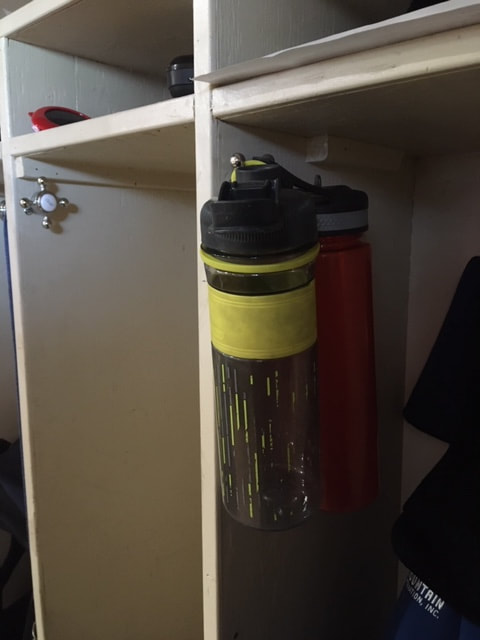
I had a brainstorm this year! Use a photo backdrop for our trunk or treat! It was great and super easy. Here are the two ideas that we did this year: For our car we did Harry Potter themed. We usually do Harry Potter because we like to do butter beer. Anyway more on that in a minute. To start our car decorating we simply purchased a Hogwarts 5 x 7 photo backdrop. We bought a 20 foot length of PVC pipe and cut it into two 6 ft and one 8 ft length. We used 2 elbows for the top 2 corners. To get it to stand up, we put two 3 ft lengths of rebar in the ground and then put the side pipes over the rebar. If we didn't have a way to put rebar into the ground, we could have used Christmas tree stands, or somethings similar. Then we had 3 clamps to attach the back drop to the top PVC pipe. We could also have purchased a photo back drop stand, but that is 3 times the cost of what we spent on our supplies :)
Jessie's Girl Car (Ashly and Jessie's car)
Because the decorations were easy, we both had time to think up and add an activity to our cars. As a side note, we could have also looked at using shower curtains. There are a TON of shower curtain designs out there.  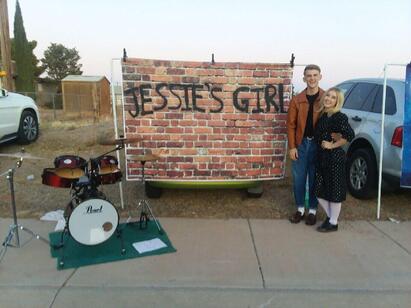 |
AuthorA mom trying her best to make the most out of things on a budget and time constraints. Archives
June 2022
Categories |
 RSS Feed
